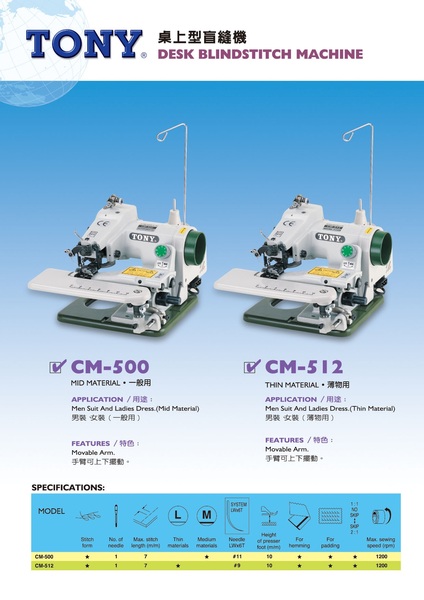
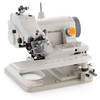
This rugged portable is the ideal machine when space is tight & the workload is light. It's the little machine with the big machine features to provide you with quality 1 to 1 non-skip and 2 to 1 skip stitch hemming.
- Ideal for tailors, dressmakers, retailers, and homemakers with limited space
- All parts are exclusive to US stitch-line machines.
Hardened Shafts
All shafts have been hardened to minimize drag and allow the machine to run smoothly with its compact motor.
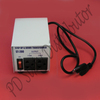
Motor included
Complete with built-in motor, yet extremely lightweight, the portable gives you quality and durability in a convenient package.
Variety of Applications & Threads
This machine will handle light to medium fabrics on trouser cuffs, skirt and dress hems, and coat linings
It will stitch with all kinds of lightweight threads, including monofilament.
Easy to Mount-Universal clamps
Let you mount the machine to most tables.
Foot Control
Allows you to regulate speed to your immediate sewing needs.
Swing Plate
Helps to support work & swings out of the way to expose cylinder arm, when sewing leg and sleeve openings.
- US Warranty 90 Days labor on defects in materials and workmanship.
- Non-US Warranty: 30 days parts and labor
- Up to 1500 SPM (stitches per minute)
- Stitch Range: SPI (stitches per inch)
- Capacity: Light, Medium fabrics
- Application: Single-needle 1 to 1 non-skip and 2 to 1 skip stitch hemming on dresses, skirts, blouses, and curtains
Blind Hemmer Ending Stitch Techniques I show how I now end my blind hemmer stitches. In the past I always used the old technique of raising the needle to its' highest position and releasing the pressure foot and jerking the fabric back quickly to break the thread. This led to size 10 needles skipping stitches sooner than I thought they should. I contacted the mfg of my machine and they told me to use the technique I show in this video. Since I've gone to it my #10 needles are lasting much longer. :) The machine shown is an Industrial Consew made in Japan back in the 1970s. Kevin Sews Published on Jul 2, 2014
When I pull the stitching out, several stitches unravel along with it. Is there a way to tack the stitches to prevent unraveling?
Jenna, there are several ways of securing a blind hem stitch at the end of a seam. The easiest way is to sew over and beyond the end of a seam, especially if hemming a tubular item like pants. When you sew over previous stitching it helps to lock the stitches in.
Before you remove fabric from the end of the machine feeder, turn the hand wheel clockwise to swing the needle all the way to the left position in the needle channel which will help secure the thread and stitch in place. Then quickly pull or jerk the fabric hem from behind the feeder which will break the thread and tie off the chain stitch so that it will not continue to unravel. It takes some practice because you may have to use the knee lever or hand wheel to position or release the fabric if it is not already at the end of the feeder.
You can also turn the hand wheel counterclockwise at the end of the seam (like reverse stitching but no formation) just to hide the end stitches, or you can manually weave the unraveled thread back into the chainstitch with a seaming needle.


