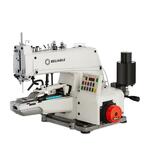
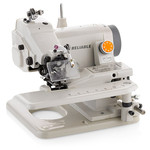
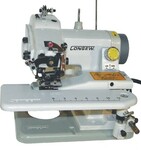
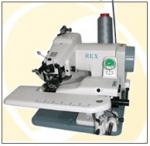
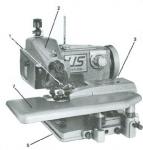
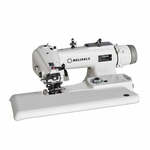
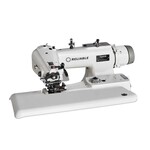
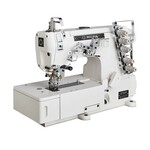
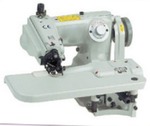
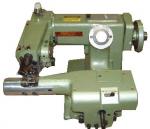
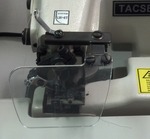
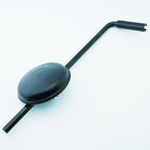
Blind Hem Stitch Hemmer Portable Machines are for Apparel Fabrics Only. Power Stand Models for Apparel and/or Drapery, but Not for Upholstery |
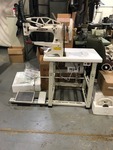
Power stand blindstitch hemmers are best for a combination of apparel and drapery. Portable blind stitch hemmers are suitable for light to medium weight apparel fabrics, because the stitch penetration dial only has one revolution of adjustment, not enough for lowering of the needle into heavier weight drapery fabrics or blackout lining. Blindhemmers are not suitable for harder upholstery fabrics which cause too much needle deflection which can damage needles, looper, skip stitches, or break thread.
"Unfortunately, none of the portable blind hemmers is recommended for doing draperies of any kind. The reason for this is that there is not enough room in the mouth (arm space between needle and neck) of the machine to allow for the wide hem of drapery (usually 4" - 4-1/2"). The maximum hem on a portable is about 2-1/2". For drapery applications, the best machine would be a true industrial type blind hemmer, like our MSK-755 (CHINA). The mouth, or opening has about 8" of space, for any variety of hems. We have sold hundreds of the 7100SB which replaced MSK-755 for drapery and other hemming applications (like clothing), and it is the one I would recommend for drapery. I hope that helps." Robert Kahn, Reliable Corporation."
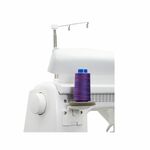
(Q) What type thread is used with this machine? Would thinner serger thread be ok? (A) Yes, MaxiLock single strand polyester serger thread is fine. You can also use 100% nylon thread if it has some texture, as opposed to clear nylon (like fishline) which is more abrasive to metal parts. John (A)Janie, we couldn't find a very good image of an industrial machine curved-needle blindhem stitch online. It is a chainstitch with serger type stitch covering the hem/fold on the inside, and very little if any of the stitch or pull showing through on the right side. Most of the thread shows on the inside hem with very little showing on the outside. It is supposed to be invisible on the outside which is very difficult to do on very lightweight fabrics, unless you use the same color thread as the garment fabric. So the two sides are not supposed to look the same, like a zigzag stitch would on a sewing machine. We recommend portable blindstitch machines for garments, and power stand models for drapery or for faster speed on garments. Hope this information helps. John
(Q)How do I increase/decrease the stitch length? The manual says to turn a part with #4,5,6 on it but I can't find any such cam/part/wheel. (A)Remove the left cover of the blindstitch machine with the two thumb/screws, on left side and back. Use an allen wrench to move the graduated numerical cam from it existing setting on 4, 5, or 6mm setting, to any other stitch length setting then test. It is much easier to use the 2:1 skip stitch lever on the right side of the machine to change from 1:1 (every stitch) for garment fabric, to 2:1 (every other stitch) for interior fabrics, which doubles the stitch length.
(Q?)When I pull the stitching out, several stitches unravel along with it. Is there a way to tack the stitches to prevent unraveling? (A)Jenna, there are several ways of securing a blind hem stitch at the end of a seam. The easiest way is to sew over and beyond the end of a seam, especially if hemming a tubular item like pants. When you sew over previous stitching it helps to lock the stitches in. Before you remove fabric from the end of the machine feeder, turn the hand wheel clockwise to swing the needle all the way to the left position in the needle channel which will help secure the thread and stitch in place. Then quickly pull or jerk the fabric hem from behind the feeder which will break the thread and tie off the chain stitch so that it will not continue to unravel. It takes some practice because you may have to use the knee lever or hand wheel to position or release the fabric if it is not already at the end of the feeder. You can also turn the hand wheel counterclockwise at the end of the seam (like reverse stitching but no formation) just to hide the end stitches, or you can manually weave the unraveled thread back into the chainstitch with a seaming needle.
Blind Hemmer Ending Stitch Techniques
I show how I now end my blind hemmer stitches. In the past I always used the old technique of raising the needle to its' highest position and releasing the pressure foot and jerking the fabric back quickly to break the thread. This led to size 10 needles skipping stitches sooner than I thought they should. I contacted the mfg of my machine and they told me to use the technique I show in this video. Since I've gone to it my #10 needles are lasting much longer. :) The machine shown is an Industrial Consew made in Japan back in the 1970s. Kevin Sews Published on Jul 2, 2014


