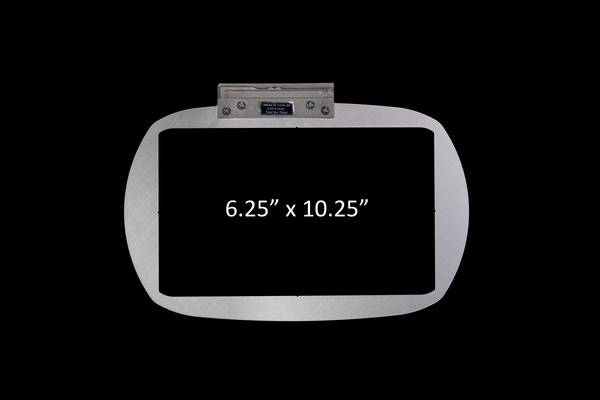
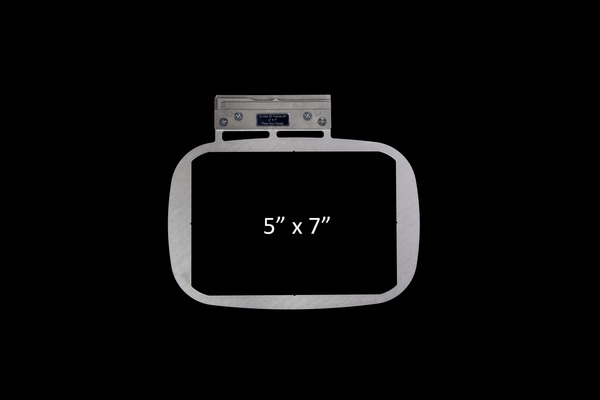
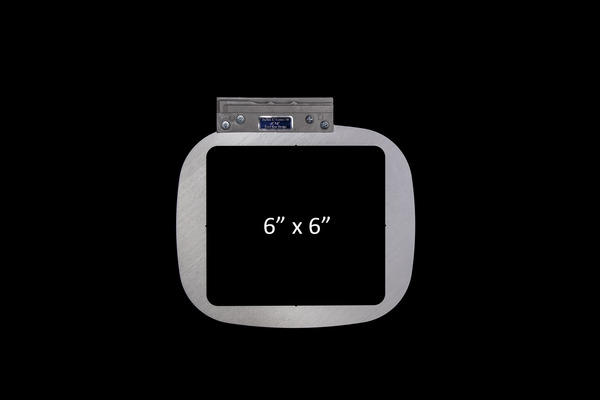
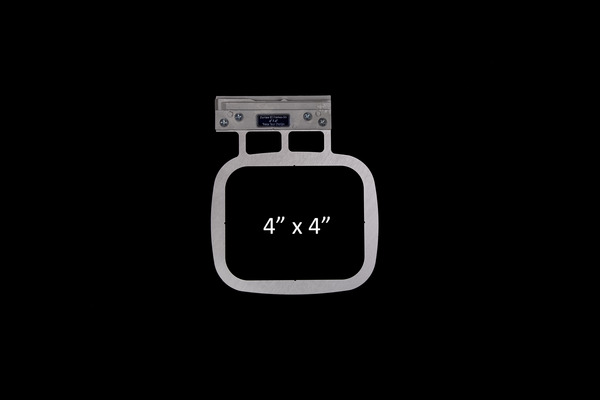
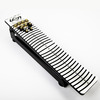
Stability - due to their thickness and strength, you can stitch comfortably with EZ Frames at 1,000 stitches per minute!
Strength - EZ Frames are constructed with 3/16" anodized aluminum to provide years of consistent, uninterrupted performance. This compares to Fast Frames 1/16" metal frames which have a lot more vibration up and down movements.* EZ Frames also has larger Thumb Screws for ease of tightening and loosening.
Save - A lower purchase price means up-front savings and higher operating speeds
means more production in less time!
Included in this package are the:
- 6.5x10.25
- 5x7
- 6x6
- 4x4
Introduction to EZ Frames for Single Needle Embroidery Machines by Durkee Hoops from Brent Taylor on Vimeo.
- US Warranty Limited Lifetime
- Non-US Warranty: 30 days parts and labor
Durkee EZ Stitching Video Project Tutorials Featuring Mike Johns
Project #1 Baby Onesies
Applique Monogram Baby Onesie - Single Needle Machine from Brent Taylor on Vimeo.
Project #2 Embroidered Stuffed Animals
Embroidering a Stuffed Animal Using EZ Frames on a Single Needle Machine from Brent Taylor on Vimeo.
Project #3 Christmas Stockings
Christmas Stocking Using Durkee EZ Frames for Single Needle Machines from Brent Taylor on Vimeo.
Project #4 L/R Chest Embroidery
Left-Right Chest Embroidery - Single-Needle Machines from Brent Taylor on Vimeo.
On the rare occasion this issue comes up, the answer is the same. . Durkee EZ Frames have nothing to do with the issue. In fact, the customer should take them off and set them aside to fix the problem. The “A” arm of the machine has multiple positioning locations that, when properly aligned, cause the machine to “recognize” the hoop attached to the arm. In this instance the word “recognize” refers ONLY to the hoops that came with the machine or other OEM hoops from Brother available for that machine. Those positions on the “A” arm are small slots or grooves. In order for the machine to recognize the correct hoop, the left side (adjustable arm that moves left and right) must align perfectly in any given slot and the knob that holds it tightly secured. If these two criteria are not met, the machine “assumes” the next smallest size hoop.
Thus, if the customer will remove any/all hoops or frames from the machine and adjust the “A” arm correctly in the proper slot and tighten the thumbscrew/knob securely, the machine will “think” it has a 7 7/8” x 11 7/8” hoop attached and the problem will be solved. This hoop is usually and inaccurately referred to as a 12 x 8 hoop. Brother identifies this hoop as their “Large” hoop. Because the machine “thinks” it has a 12 x 8 hoop in place is why the customer must ALWAYS center their #1 needle in the middle of the EZ Frame or hoop and trace their design.


